
How to Polish Concrete Floors: A Step-by-Step Guide by Concreteyourway®
Polishing concrete surfaces can significantly elevate the aesthetics and durability of your floors, countertops, or any concrete structure. At Concreteyourway®, we’re committed to empowering you with the knowledge and tools to achieve professional-level results. Let’s delve into the step-by-step process of polishing concrete to perfection.
Step 1: Prepare the Surface
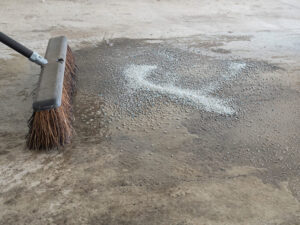
Before you begin polishing, it’s crucial to prepare the concrete surface properly. Start by thoroughly cleaning the area to remove any dirt, debris, or stains. Use a degreaser for oily spots and a mild detergent for general cleaning. Once clean, allow the surface to dry completely before proceeding to the next step.
Step 2: Grind the Concrete
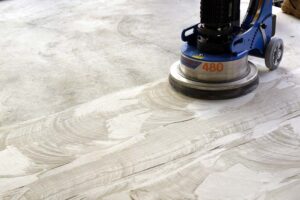
The key to achieving a smooth and polished finish is to grind the concrete surface evenly. Start by using a concrete grinder equipped with diamond grinding pads. Begin with a coarse grit pad to remove any imperfections or rough areas. Gradually work your way up to finer grit pads until the surface is uniformly smooth.
Step 3: Fill in Cracks and Holes
Inspect the concrete surface for any cracks or holes that need to be filled. Use a concrete patching compound to fill in these imperfections, ensuring a level surface for polishing. Allow the patching compound to dry completely before moving on to the next step.
Step 4: Polish the Concrete
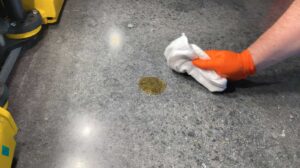
Once the surface is prepped and patched, it’s time to start polishing. Attach a series of progressively finer diamond polishing pads to the grinder and begin polishing the concrete in a systematic manner. Start with a low grit pad and gradually increase the grit as you progress. Continue polishing until you achieve the desired level of shine and smoothness.
Step 5: Apply a Concrete Sealer
To protect the polished concrete surface and enhance its longevity, it’s essential to apply a concrete sealer. Choose a high-quality sealer that is compatible with polished concrete surfaces. Apply the sealer evenly using a roller or sprayer, following the manufacturer’s instructions carefully. Allow the sealer to dry completely before walking or placing any objects on the surface.
Step 6: Maintain the Polish
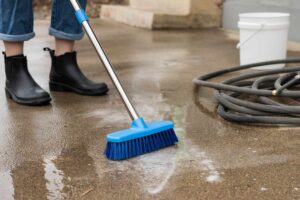
To keep your polished concrete looking its best, it’s important to maintain it regularly. Sweep or vacuum the surface regularly to remove dirt and debris. For deeper cleaning, use a mild detergent and water solution. Avoid using harsh chemicals or abrasive cleaners, as these can damage the polish.
Conclusion:
By following these step-by-step, you can achieve a flawless polished finish that will enhance the beauty and durability of your concrete surfaces. At Concreteyourway®, we believe that anyone can achieve professional-quality results with the right knowledge and tools. By following the techniques outlined in this article, you’ll be well on your way to mastering the art of concrete polishing. Whether you’re transforming a residential floor or revitalizing a commercial space, let Concreteyourway® be your guide to unlocking the full potential of concrete. Happy polishing!
Remember to check out our website for more tips, tricks, and products to elevate your concrete projects to new heights. Concreteyourway® – where every surface tells a story of craftsmanship and creativity.
For further inquiries, feel free to call us at (905) 669-5353.

